finally posting

NEW SEATS!
posted by Unknown at 6:26 pm
65 comments
![]()
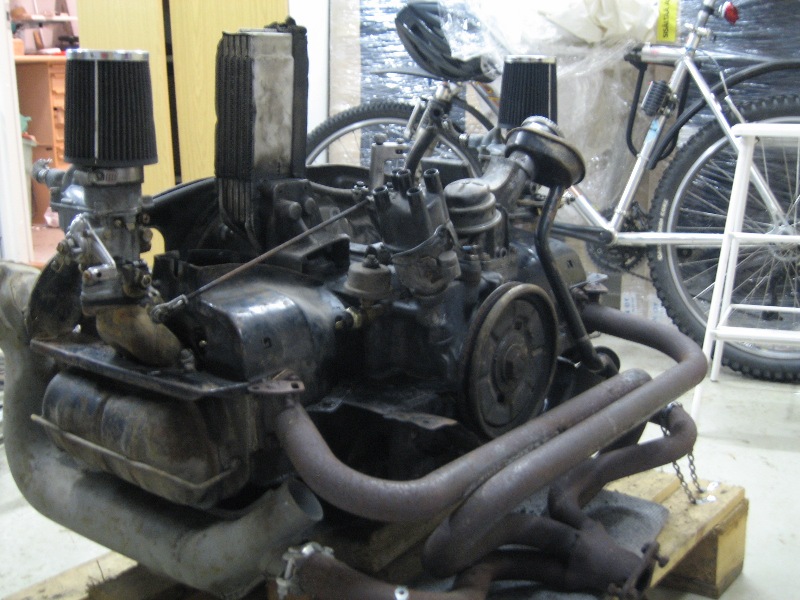
This blog is about my 1965 VW


posted by Unknown at 7:48 pm
0 comments
![]()


posted by Unknown at 2:44 pm
0 comments
![]()


posted by Unknown at 11:50 am
0 comments
![]()

posted by Unknown at 7:29 pm
0 comments
![]()

posted by Unknown at 2:08 pm
0 comments
![]()


posted by Unknown at 6:16 pm
0 comments
![]()


posted by Unknown at 7:33 pm
0 comments
![]()


posted by Unknown at 6:53 pm
0 comments
![]()

posted by Unknown at 6:27 pm
0 comments
![]()

posted by Unknown at 1:46 pm
0 comments
![]()

posted by Unknown at 8:02 pm
0 comments
![]()
 Stock 4" + 5.60.
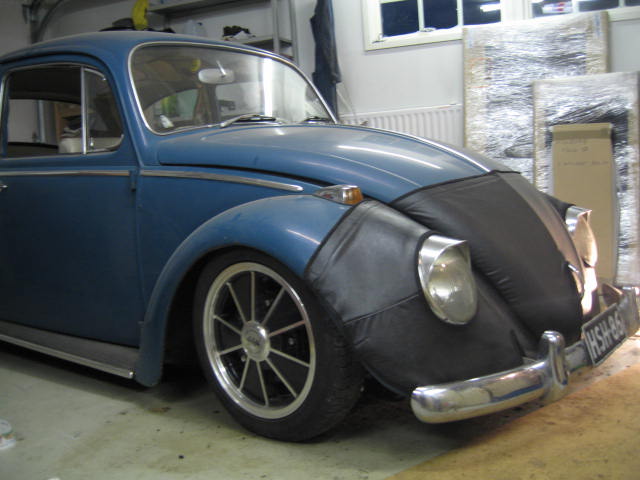 and with 4,5" BRM's + 135/70.
posted by Unknown at 7:56 pm
0 comments
![]()

posted by Unknown at 7:09 pm
0 comments
![]()

posted by Unknown at 4:42 pm
1 comments
![]()


posted by Unknown at 2:56 pm
0 comments
![]()


posted by Unknown at 2:43 pm
0 comments
![]()

posted by Unknown at 2:24 pm
0 comments
![]()

posted by Unknown at 3:32 pm
0 comments
![]()


